September 26, 2024

Sewing tutorial: create your own computer or tablet pouch (in french)
Looking for a quick and easy sewing project that's also useful and stylish? This tutorial is for you! The computer pouch, adjustable to your needs, is ideal for storing your laptop, tablet, or even your documents and books. By following this guide (in French), you'll be able to make one in no time, while customizing its dimensions and finishes. Ready to get started?


Materials required
Here's what you'll need to make your pouch:
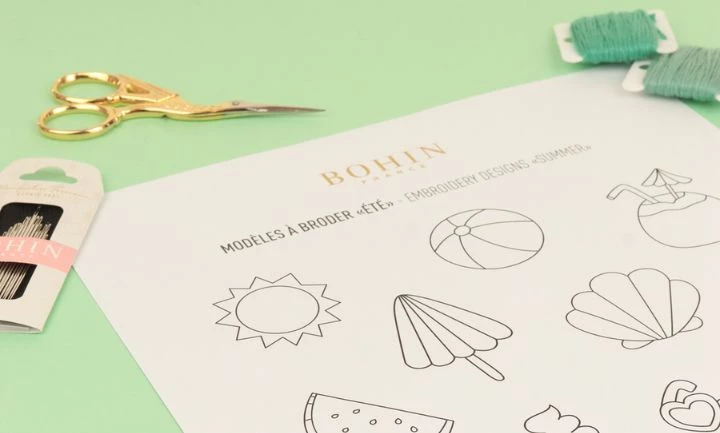
- Sewing machine with BOHIN universal needles (80 or 90, depending on the fabric chosen).
- BOHIN snap fastener.
- BOHIN scissors (for fabric cutting only).
- BOHIN marking pencil for tracing shapes on your fabrics.
- BOHIN pins to hold your fabric pieces in place during assembly.
If you don't have everything you need, don't panic! Visit our online store www.bohin.com to place your order. Take advantage of a 10% discount on your first order with the code BIENVENUE!
Fabric preparation and cutting
For this project, choose a thick fabric that will provide good protection for your computer or tablet. You can opt for wool, denim or even a quilted fabric. This is also a great opportunity to use up your fabric scraps!
- Measure the length and width of your device.
- Cut 2 pieces from the main fabric (adding 5 cm for seam and ease margins).
- Do the same in the lining fabric.
- For the flap, cut 2 pieces from the main fabric, taking the width of your appliance and half its length. Add a rounding at one end (use a round object like a plate to trace the rounding).
At this point, you should have 6 pieces of fabric: 2 for the main fabric, 2 for the lining, and 2 for the flap.
Assembling the computer sleeve
1. Fitting the flap
Place the two “flap” pieces right sides together. Pin the rounded edges and sew 0.7 cm from the edge. Clip the rounded edge for a neat finish, then turn the flap right side out.
2. Assembling the main fabric
Place the two main fabric pieces right sides together. Pin the sides and bottom, then sew 1 cm from the edge.
Tip: Create a gusset by flattening the bottom seam to form a triangle. Sew 1.5 cm from the tip and trim the excess fabric.
3. Lining assembly
Repeat the main fabric assembly steps to assemble the lining pieces. Be careful to leave a 5 cm opening at the bottom to turn the project over at the end.
4. Final assembly
Slide the lining (right side out) inside the main fabric (always on the wrong side). Place the flap between the lining and the main fabric, rounded side down. Align seams and pin in place. Sew all around the opening.
5. Turn the project inside out
Use the opening left in the lining to turn the pouch right side out. Then close the lining opening with a discreet seam.
6. Finish
All that's left to do is attach a BOHIN snap to the flap and pouch. Tip: Insert your computer into the pocket to mark the precise position of the button.
And that's it! Your sleeve is finished! Simple, quick and elegant, it will protect your device while adding a personal touch.
Don't forget to share your creations on social networks with the hashtag #madewithbohin. We can't wait to see your creations!
Looking for more projects? Explore our other tutorials on our blog and find all the equipment you need at www.bohin.com!